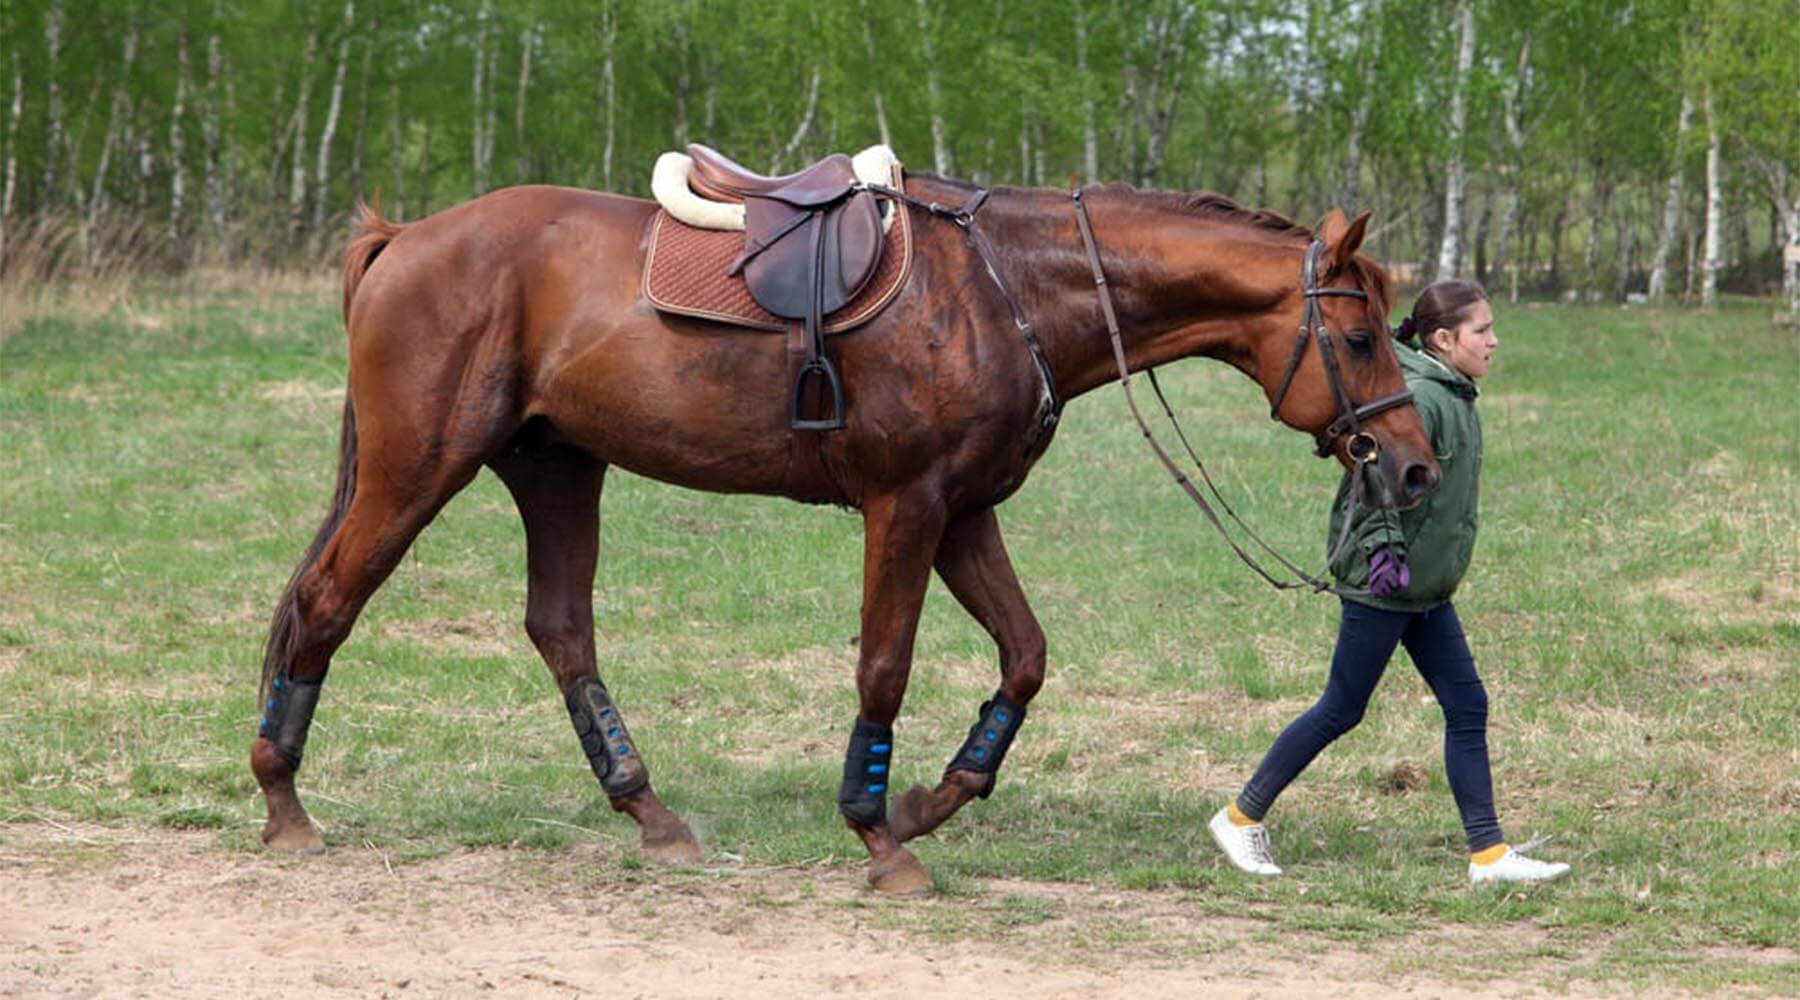
Learning how to tack up a horse is one of the first skills you will learn as a new rider. Tacking a horse up a horse means that you are attaching the required equipment onto your horse for riding or ground training.
How to tack up a horse highly depends on the type of tack you will be using. A rider/ handler may tack up using different equipment for English riding, western riding or long lining. Both western and English riding have basically all the same primary parts:
- Saddle
- Bridle
- Girth
- Saddle pad
- Breast collar- if needed
After you’ve hooked your horse onto the cross ties in a safe, open area such as a clear aisle way, you must groom your horse thoroughly. Grooming your horse kickstarts their circulatory system for warming up muscles, distributes oils throughout the coat and removes dirt that could cause rubs under the leather. For both disciplines, the order of tacking up should be the same.
First, place the saddle pad on your horse. Make sure that it is lifted above the spine to avoid constricting the horse’s spine with the weight of the horse saddle and rider. A popular technique for proper placement is to set the saddle pad on the horse’s neck and slide it backward onto the back until it “clicks” into place. This allows the pad to stop at your horse’s natural curvatures suitable for a saddle.

Next is the saddle itself. The same technique for saddle pad placement can be used for the saddle too! One common mistake made when putting the saddle on is putting it forward too much so the shoulders are hindered from comfortable movement. Over time, this can damage the cartilage on the edges of the scapula, resulting in swelling and unwillingness to go forward.
If you ride a varying amount during the year, take this time to evaluate the fit of your saddle as it most likely changes as your horse’s muscling changes over the seasons and work amount. Corrective fitting pads can only make up for so much, the saddle needs to fit the horse and the rider.
After the saddle is in place, you may attach the horse girth. Carefully look at the type of girth you are using before you begin buckling it on. Some girths have elastic on either side or 1 side. A general rule is to always put the elastic side on the near side (mounting side). Also take note to if your girth has a ring in the center. This should always face towards your horse’s head as it is an attachment place for breast plates, martingales or other artificial training aids such as a chambon.
When buckling your girth, there should be 3 billets underneath the flap on both sides of your saddle. There are many different opinions on which 2 billets you should use. There are 3 billets in case one breaks out in the field, you still have 2 functional ones. Using the outermost billets is thought to give the most stability, but some horses are more comfortable with the girth in a slightly different position, in that case, try the 2 first billets (closest to the shoulder).
Tighten your girth in the cross ties only enough so that the saddle is stabilized until you reach the ring or wherever you will be mounting.

With your horse still attached to the cross-ties by a halter, this is the time to put on any leg protection that you plan on using. Make sure that any boots or polo wraps are put on correctly as it may cause rubs or become an annoyance to your horse. Often times polo wraps have uneven pressure or come unraveled because of incorrect wrapping. Make sure that tendon boots have snaps and buckles facing to the outside and are not adjusted too tightly. You should be able to fit 2 fingers underneath the straps. Ask your trainer for help the first few times.

Once you have the saddle secured and have put on any leg protection, the bridle is next. With your horse still hooked onto the cross ties by the halter, carefully take the halter off just enough so that the noseband is just off the nose. Carefully slide the crown piece back over the head, skipping the nose.
Practical Horseman’s “Correct Way = Safe Way” provides a great visual demonstration: https://practicalhorsemanmag.com/training/correct-safe-26802
Bridling a horse is often the most difficult step and makes new riders weary because the horse could walk away very easily if not done in an efficient, smooth manner. Make sure that your bridle is looped onto your shoulder and ready to put on a horse. This means checking for all buckles to be undone as well as curb chains unhooked. This cuts down on the time messing around with tack to ensure the horse is safely restrained in case of emergency.

After making sure all straps and hooks are organized, place the reins over your horse’s head and onto their neck. Next, take the bridle into your right hand below the browband and bring it under your horse’s chin and out in front of their face (as shown in the image). Pull the noseband out so that it is on top of the cheek pieces. Guide the bit in first using your left hand. Gently insert your thumb into the corner of your horse’s mouth to encourage them to accept the bit.
Congrats, you’ve successfully tacked up your horse, time to ride!
Also Read:


